October 10, 2011 By The Blog Designer Network
In Blogger you can easily add a menu bar underneath the header area to display your pages. However, usually the menu bar does not come formatted and looks unsightly on blogs that have been customized. Here is a quick and easy way to format this menu!
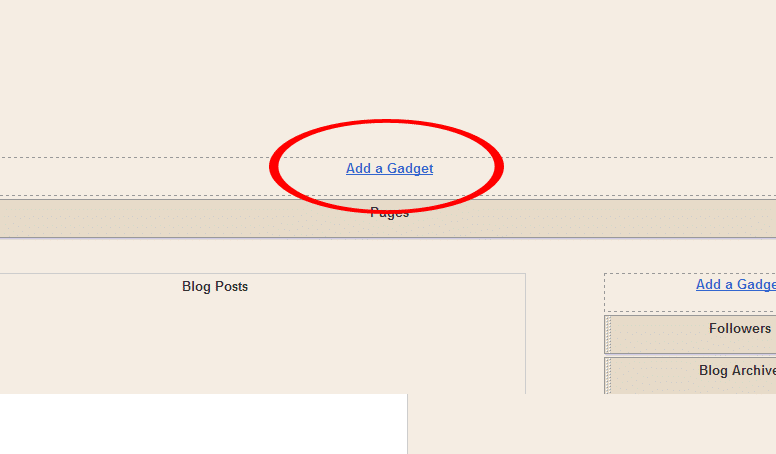
Design your page to your specifications, then go to the “Page Elements” section in Blogger. Click “Add a Gadget” under the header, and choose “Pages.” Put the widget under your header.

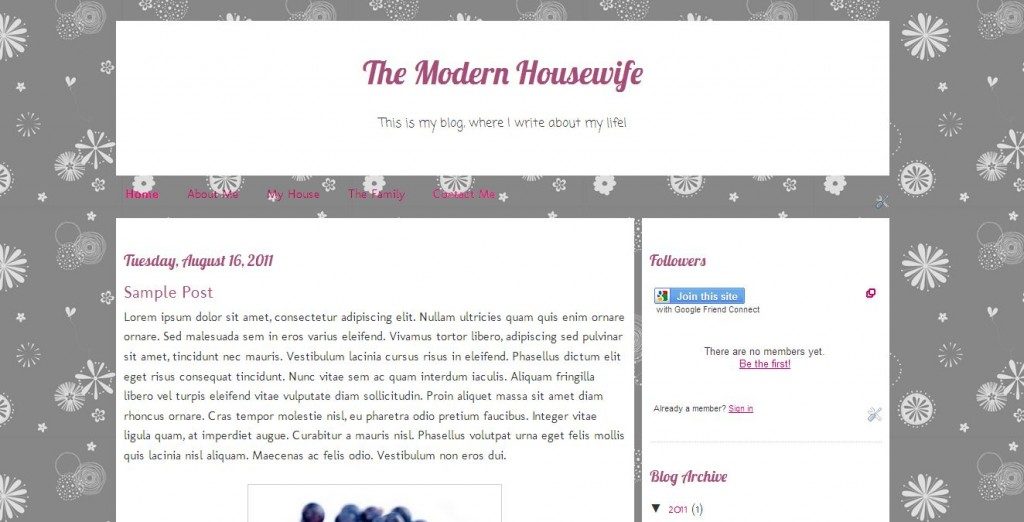
On our sample site here, you can see that the pages are the same color as all “hyperlinks” and it’s difficult to see on the dark background.

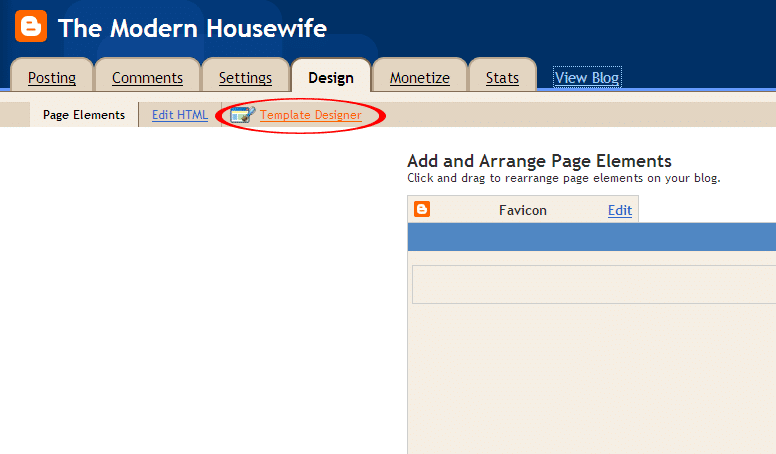
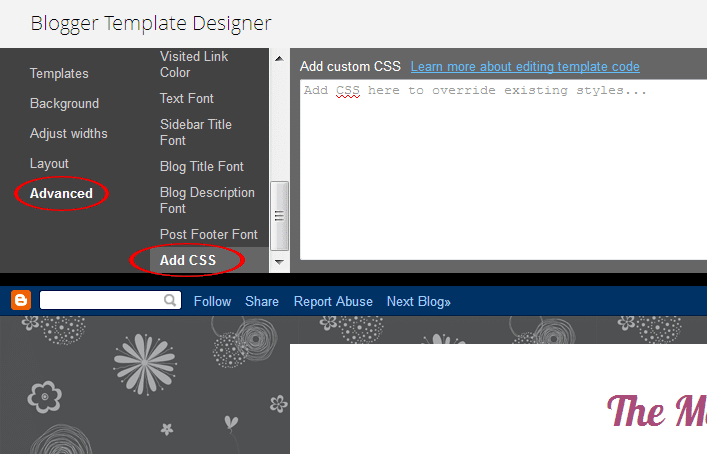
To style this section with CSS, simply go to the “Template Designer” in Blogger, and click “Advanced.” Then scroll to “Add CSS.”


In the white box, add this line of code:
#PageList1 { }
Between the opening and closing curly braces, put your styling. For example:
#PageList1 { background: white; margin: 10px 0px 0px 0px; }
Would produce this:

You can further customize the CSS with shadows, borders, custom fonts, etc…
#PageList1 { background: white; margin: 10px 0 0; box-shadow: 0px 0px 5px #000; -moz-box-shadow: 0px 0px 5px #000; font-family: 'Lobster', cursive; border: 5px solid #A6A8A9; border-radius: 35px; -moz-border-radius: 35px; }
Which would produce this:

Since each item is a link, you aren’t able to simply change the text color in the same section. To change the link color for the Page List section, add this line of code:
PageList1 li a { }
For example:
#PageList1 li a { color: black; }
(You can add all the CSS on one line, but it’s sometimes easier to see and edit when hard returns are placed after each line.)
To make each item change color upon hover, add this line of code:
#PageList1 li a:hover { }
For example:
#PageList1 li a { color: pink; }
These lines would look like this:

Good luck! Experiment with images, dividers, and much more! The “Add CSS” section is a great place to learn by trial and error!